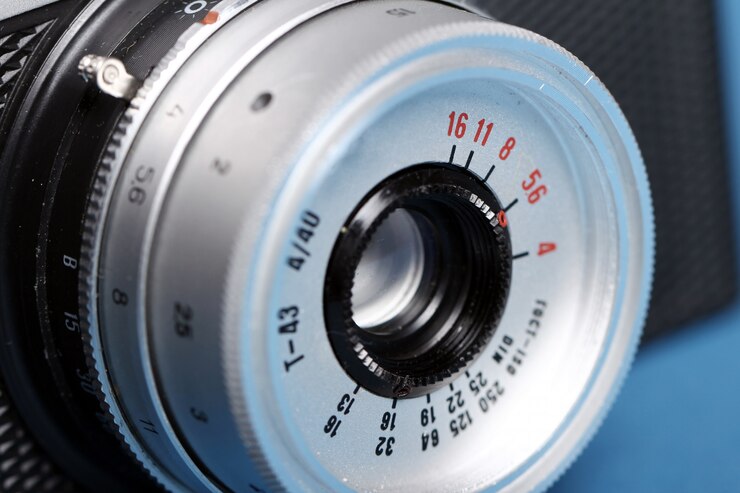
Photography serves as an artistic medium through which we can seize moments, weave narratives, and channel our creative essence. While modern cameras offer advanced automatic modes, there's something truly magical about taking control of your settings and diving into manual mode. In this guide, we will demystify the key components of manual mode photography: Aperture, Shutter Speed, and ISO.
1. Introduction to Manual Mode
Manual mode might sound intimidating, but it's your gateway to creative freedom. When you switch to manual mode, you become the master of your camera, dictating how it captures light and interprets scenes. This means you can achieve effects that automatic modes simply can't replicate.
Pro Tip: Don't be discouraged if manual mode feels overwhelming at first. With practice, it becomes second nature.
2. Understanding Aperture
Imagine you're capturing a portrait, and you want the subject to stand out vividly while the background softly fades away. This is where Aperture comes into play. Aperture is the opening in your lens that controls how much light enters the camera. It's measured in f-stops, like f/1.8, f/4, f/11, and so on.
- Wide Aperture (Low f-number): A wide aperture like f/1.8 creates a shallow depth of field. This means your subject is sharp, while the background blurs into a creamy, dreamy backdrop.
- Narrow Aperture (High f-number): A narrow aperture like f/16 keeps more of the scene in focus, ideal for landscapes or group shots.
Pro Tip: Experiment with different apertures to add drama or capture sweeping landscapes.
3. Deciphering Shutter Speed
Shutter Speed controls the duration of time that your camera's sensor is exposed to light. It's expressed in fractions of a second, such as 1/1000, 1/250, 1/30, etc. This setting determines how motion is captured in your photos.
- Fast Shutter Speed: Use a fast shutter speed (e.g., 1/1000) to freeze action. This is great for sports photography or capturing a bird in mid-flight.
- Slow Shutter Speed: Opt for a slow shutter speed (e.g., 1/30) to create motion blur. This adds a sense of dynamism to flowing water or moving cars.
Pro Tip: Combine shutter speed with aperture to balance exposure and motion effects.
4. Controlling ISO for Better Shots
ISO measures your camera's sensitivity to light. In low light situations, you'll want a higher ISO (e.g., 800, 1600) to brighten the image. However, be cautious: high ISO can introduce digital noise, reducing image quality.
- Low ISO: For bright conditions, use a low ISO (e.g., 100) to maintain image clarity.
- High ISO: In low light, increase ISO for brighter shots, but be aware of noise.
Pro Tip: Strive for a balance between ISO, aperture, and shutter speed to achieve well-exposed, noise-free images.
5. Practical Tips for Mastering Manual Mode
a. Start Simple: Begin with stationary subjects and uncomplicated scenes to practice adjusting settings without pressure. b. Tripod Stability: Embrace a tripod, especially in low light. It keeps your camera steady for crisp shots. c. Bracketing Technique: Take multiple shots of the same scene with varying settings. This helps you learn the impact of changes. d. Review and Learn: Analyze each photo to understand how changes affect the final result. Learn from your successes and mistakes. e. Experiment Continuously: Photography is a journey. Keep trying new settings and techniques to develop your unique style.
6. Conclusion
Congratulations! You've embarked on a journey of creative empowerment by mastering manual mode photography. Aperture, Shutter Speed, and ISO are your tools, and this guide has provided the key to unlock their potential. As you practice, you'll discover the joy of capturing scenes exactly as you envision them. So grab your camera, explore, and let your creativity shine through the art of manual photography.

